Jul 19, 2014
Schiggy / Squirtle
Als kleines Einweihungsgeschenk für die neue Wohnung habe ich meinem Bruder ein Schiggy gehäkelt. Als wir klein waren, fanden wir Pokémon sehr toll. Schiggy war der Liebling meines Bruders und da er auch im Allgemeinen Schildkröten mag, dachte ich, dass es eine schöne Idee wäre die alten Kindheitserinnerungen aufzufrischen.
Die Anleitung dazu gibt es hier.
I chrocheted a litte Squirtle a housewarming gift for my brother. When we were little we loved Pokémon. Squirtle was my brother's favorite and he likes turtles in general. Therefore, I wanted to recreate some childhood memories.
Instructions can be found here.
Read more
Die Anleitung dazu gibt es hier.
I chrocheted a litte Squirtle a housewarming gift for my brother. When we were little we loved Pokémon. Squirtle was my brother's favorite and he likes turtles in general. Therefore, I wanted to recreate some childhood memories.
Instructions can be found here.
Label: selbst gemacht / self-made
Ich wollte schon seit einiger Zeit eigene Label. Nicht, um mein Hobby professionell aufzuziehen, aber es sehe noch schon ganz nett aus mit so einem Label.
Nun wollte ich jedoch nicht wahnsinnig viel Geld investieren, auch wenn es mittlerweile gute Angebote gibt, wie zum Beispiel bei www.dortex.de. Dort gibt es verschiedene Auswahlmöglichkeiten: Etiketten aus Baumwolle, Satin, Leder oder Polyester.
Daher habe ich erst einmal einen Selbstversuch gestartet. Ich habe mir T-Shirt-Folien zum Selbstbedrucken gekauft (z.B. hier). Mit Hilfe von Word konnte ich mein Labeldesign einfach auf einer A4 Seite anordnen, für 72 Stück gab es Platz.
Es sollte auf jeden Fall beachtet werden, dass die Label spiegelverkehrt gedruckt werden müssen.
I wanted my own labels for a long time. Not for a professional reason, just because it looks nice. But I didn't want to pay a lot of money, although there are great offers available (see www.dortex.de).
That's why I tried to make some on my own. I bought t-shirt transfer paper. Using Word I arranged my design in an A4 format (= 72 labels). Please note that the label have to be printed as a mirror image.
Meine Label haben eine Höhe von 1,3 cm, weshalb ich mich für ein weißes Satinband (kostengünstig z.B. bei Rossmann zu kaufen: 7 Meter für 1,49€) mit einer Breite von 1,5 cm entschieden habe. Die einzelnen Label habe ich ausgeschnitten und, damit es etwas schneller geht, 3-4 Stück jeweils hintereinander auf das Satinband gelegt und kurz angebügelt damit sie nicht verrutschen.
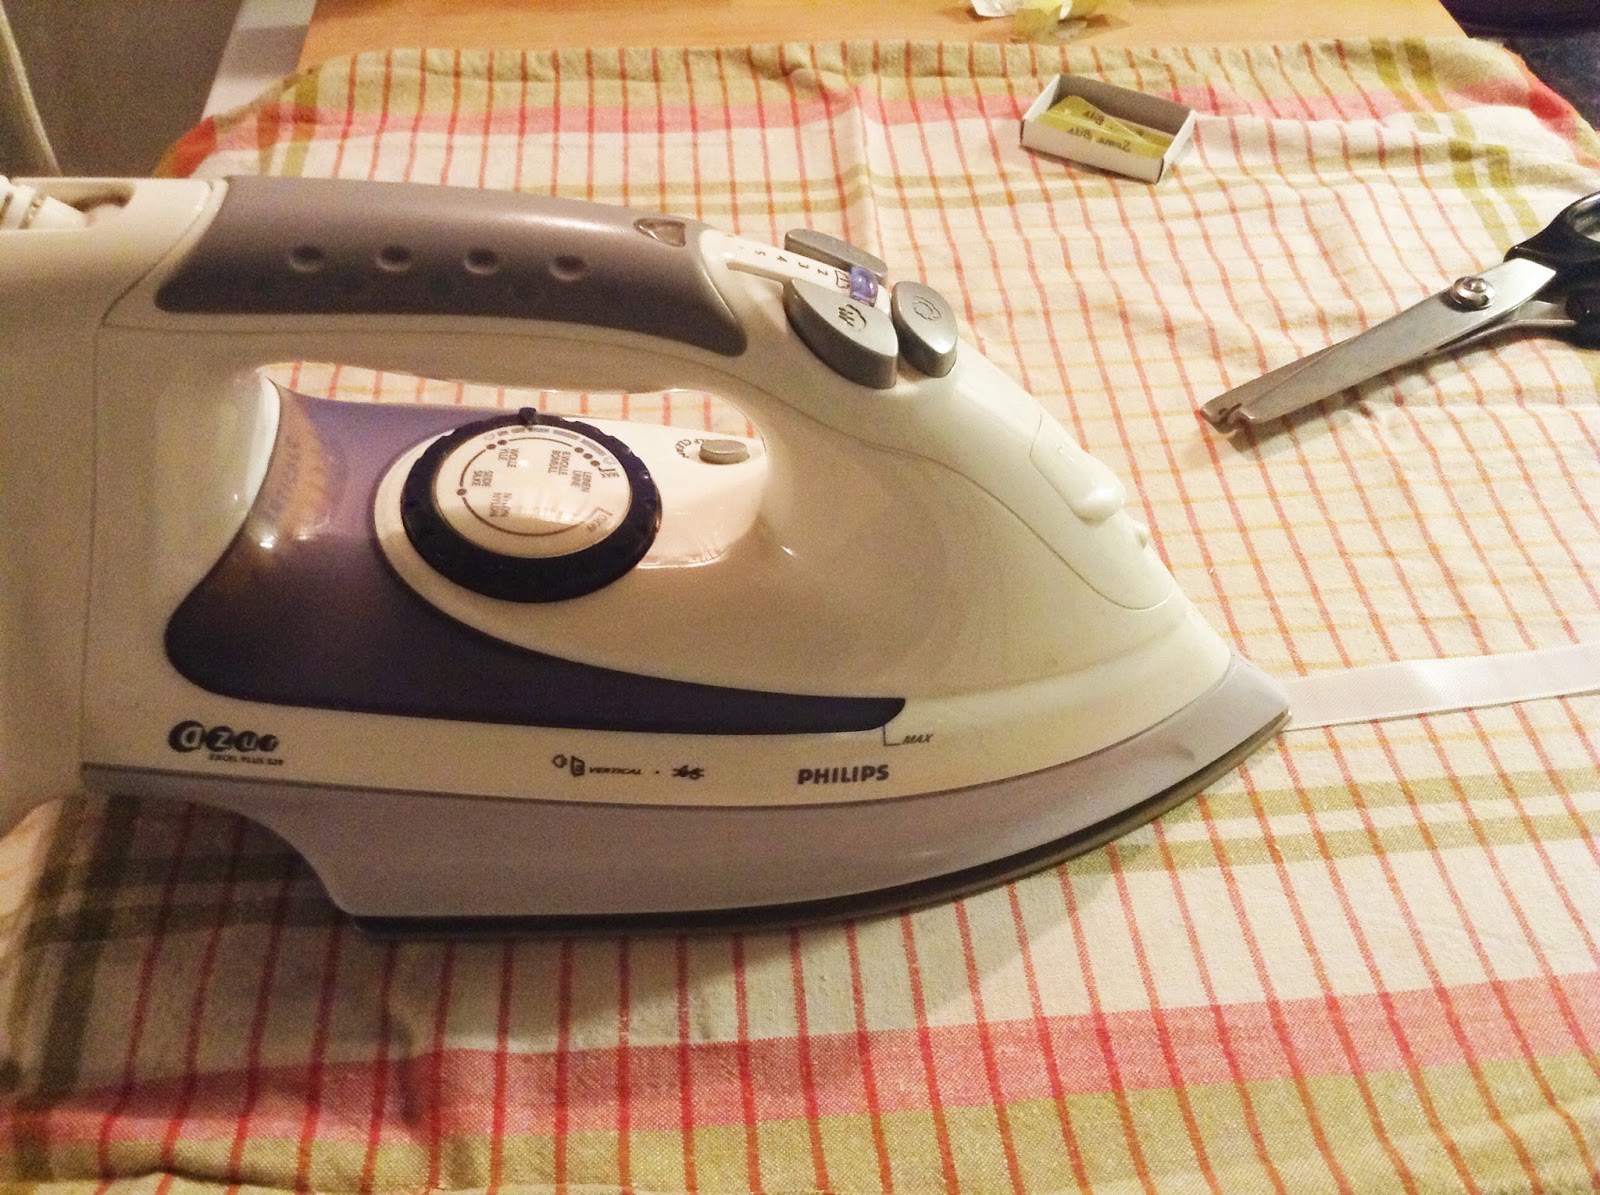
Zum Aufbügeln der Folie sollte man möglichst eine harte Unterfläche wählen. Ein normales Bügelbrett ist zu weich. Ich habe ein großes Küchenbrett benutzt und ein Geschirrtuch untergelegt.
The hight of my design is 1,3 cm (0,5 inches) and I used white satin ribbon with a width of 1,5 cm (0,6 inches). I cut out the individual labels and placed 3-4 on the ribbon and pressed each shortly to keep them in place.
Use a rather hard surface to iron your transfer paper. A normal iron board is to soft and not suitable. I used a simple cutting board and a dish towel for protection.
Danach haben ich das Bügeleisen (Einstellung zwischen Wolle und Baumwolle) etwa 20 Sekunden auf die Etiketten gepresst. Danach sollte man möglichst schnell arbeiten, denn je heißer die Folie ist desto besser und leichter lässt sie sich von dem Satinband abziehen. Da dieses relativ schnell abkühlt, habe ich eine Folie nach dem anderen abgezogen und das jeweilig weitere noch einmal kurz (1-2 Sekunden) gebügelt.
Man sollte hier darauf achten, das Satinband so gerade wie möglich zu halten, da man ansonsten ein schräges Etikett bekommt.
Iron the labels about 20 seconds (temperature: between wool and cotton). Move fast when removing the transfer paper because it's easier to remove it when it's still hot. I removed the paper one after the other, ironing the remaining labels again for 1-2 seconds to keep them hot.
Try to keep the ribbon as straight as possible otherwise your label will become slanted.
Damit die Etiketten weniger schnell ausfransen habe ich sie mit einer Zickzackschere zugeschnitten.
I used pinking shears to avoid fraying.
Ich finde, das Projekt hat sich auf jeden Fall gelohnt. Es hat zwar eine Weile gedauert alle 72 Label aufzubügeln, aber das Endergebnis lässt sich sicherlich sehen. Nun bleibt nur abzuwarten, wie haltbar die Etiketten sind. Natürlich werden direkt bedruckte Label (wie von Dortex) eine längere Lebenszeit haben, dafür habe ich aber nun auch keine 40 Euro zahlen müssen. Für den jetzigen Zeitpunkt reicht mir das Ergebnis allemal.
I really like my new labels. It took a while to iron all 72 but I am satisfied with the result. I have to wait and see how good the quality actually is. But for now it's all I want.
Kostenpunkt:
- 12 Folien für 12,90€ = 1,29€ pro Folie
- Satinband (7 Meter) = 1,49€ (und es ist noch nicht einmal aufgebraucht)
Expenses
- 12 transfer paper sheets for 12,90€ = 1,29€ for one sheet
- satin ribon (7 meters / 23') = 1,49€ (and there are still leftovers)
= less than 3,8 cents per label
Subscribe to:
Comments (Atom)


