
Showing posts with label Embossing Folder. Show all posts
Showing posts with label Embossing Folder. Show all posts
Mar 14, 2018
Sonnige Geburtstagsgrüße | Crafter's Companion
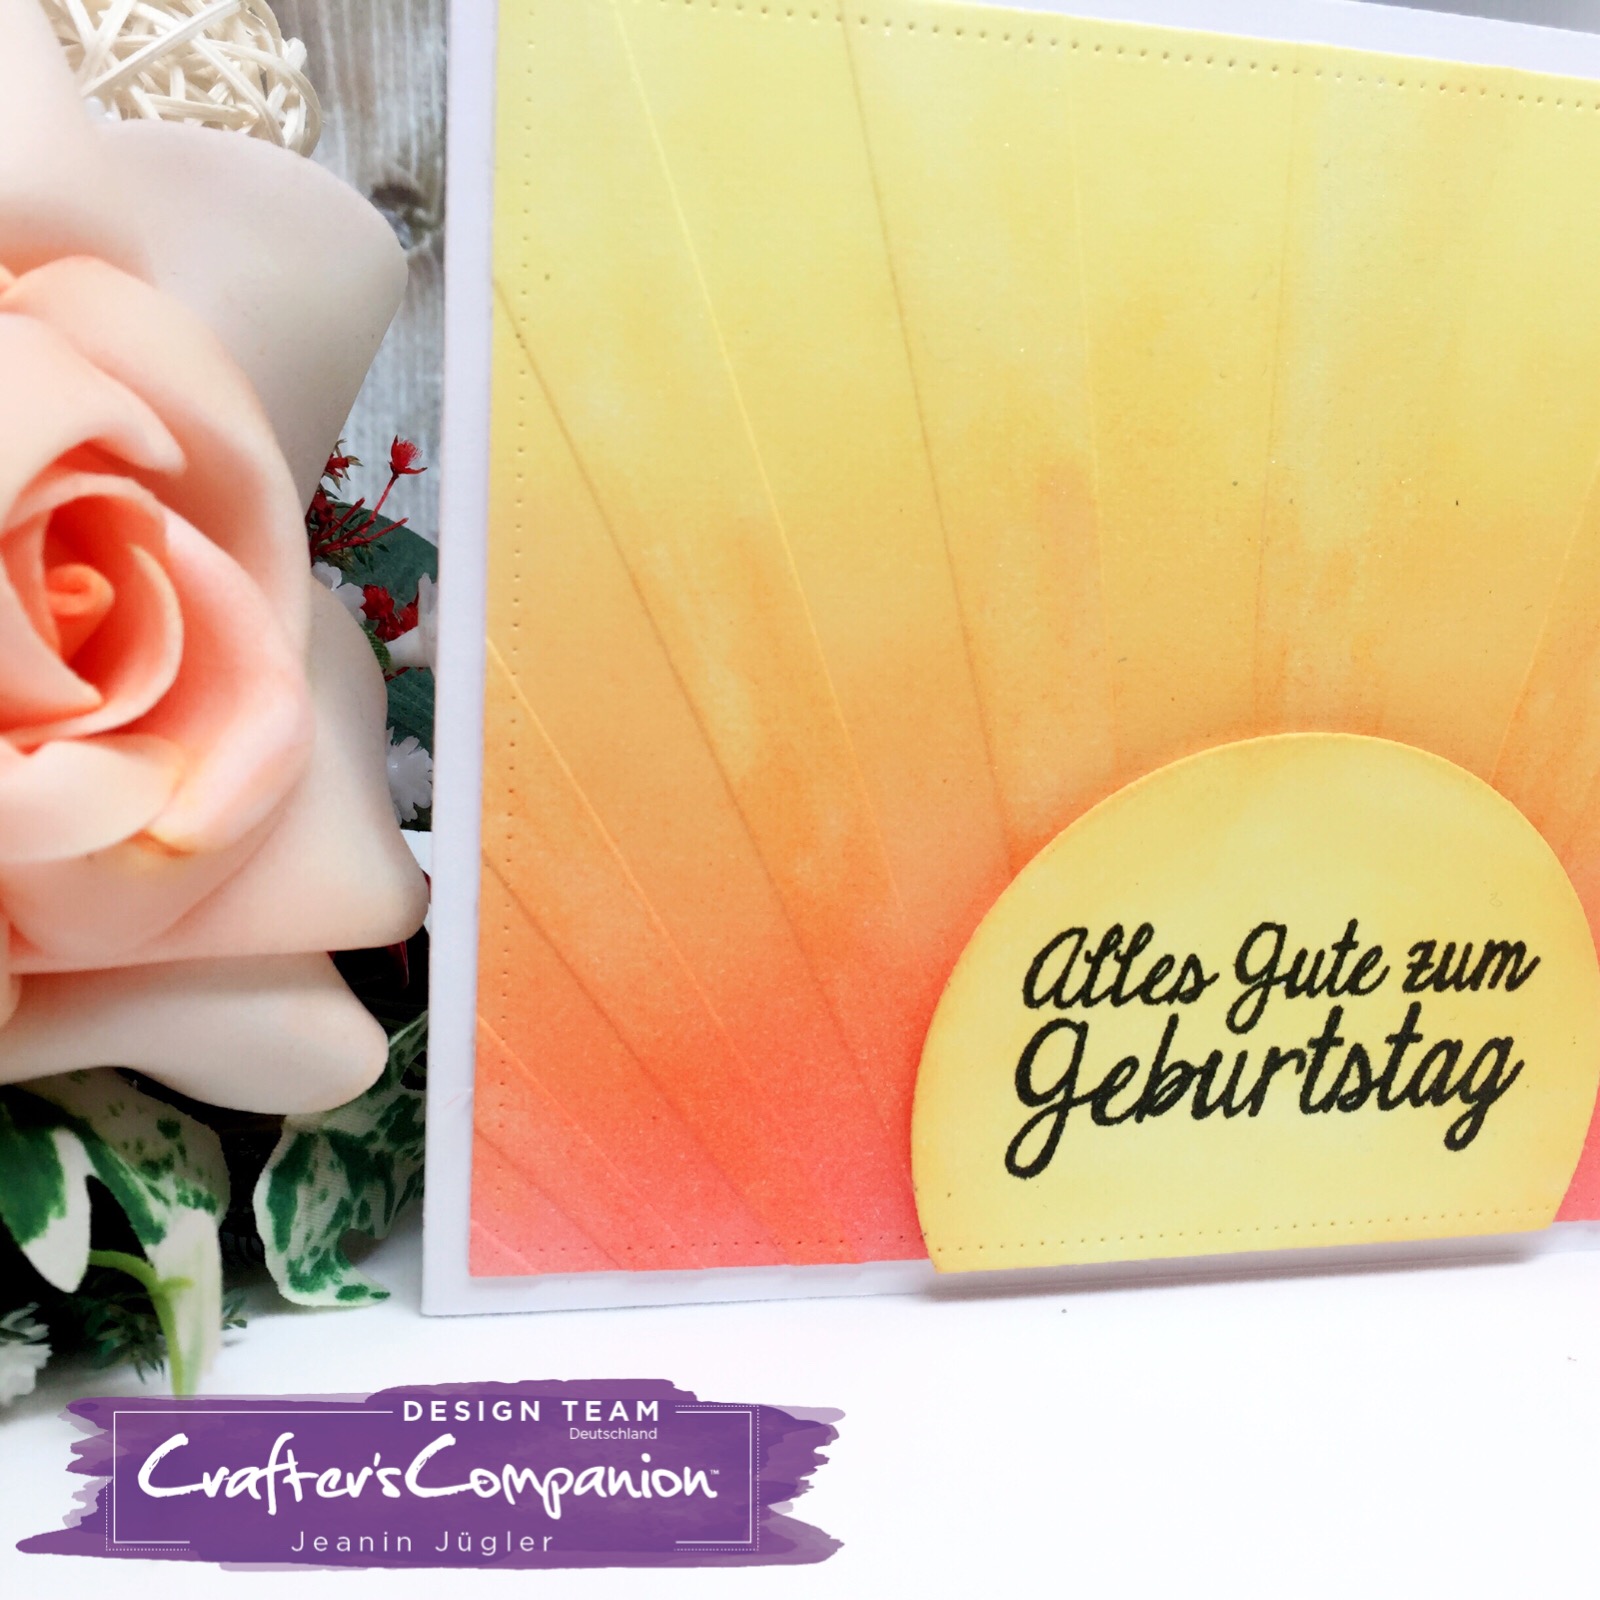
Hallo, ihr Lieben und willkommen zurück zu einem neuen Post für Crafter's Companion. So langsam scheint die Sonne wieder öfter herauszukommen und was ist besser als sonnige Geburtstagsgrüße? Mit dieser Karte könnt ihr Sonnenstrahlen verschenken.
Zunächst habe ich ein Stück Sheena Card Stock zurecht geschnitten und
mit Distress Inks (Squeezed Lemonade und Abandoned Coral) einen
Hintergrund erstellt. Ich bin wirklich begeistern von dem Sheena Card
Stock. Die Farben lassen sich wirklich fantastisch darauf verblenden und
Übergänge sehen großartig aus. Anschließend habe ich den Embossing
Folder "Sun Rays" verwendet, um die "Sonnenstrahlen" in den Karton zu
prägen.

Für die aufgehende Sonne habe noch einmal ein Stück Sheena-Karton
verwendet und die hellste Farbe aufgetragen. Mit Hilfe einer Kreisstanze
konnte ich dann die Sonne ausstanzen, wobei ich ein Teil des Kreises
abgeschnitten habe,, um einen Sonnenaufgang nachzuempfinden. Der Spruch
"Alles Gute zum Geburtstag" stammt dabei aus einem neuen deutschen
Stempelset, welches es ab April bei QVC zu kaufen geben wird.
Anschließend habe ich den Hintergrund auf eine weiße Kartenbasis aufgeklebt. Mit Hilfe eines klaren Sparkle-Marke habe ich außerdem noch die Sonnenstrahlen mit etwas Glitzer verziert. Zu guter letzte habe ich dann die Sonne mit etwas Foam Tape in die untere Mitte des Hintergrunds aufgeklebt.
Ich hoffe, euch hat diese Karte gefallen und sie hat ein wenig Sonne in euren Tag gebracht.
Verwendete Produke von Crafter's Companion
Sheena Douglass White Stamping Card A4 - Pack of 60
Tim Holtz Distress Ink - Squeezed Lemonade INK PAD
Tim Holtz Distress Ink- Abandoned Coral INK PAD
Tim Holtz Distress Ink - Squeezed Lemonade INK PAD
Tim Holtz Distress Ink- Abandoned Coral INK PAD

Feb 3, 2018
YOU | Cards und More Shop
Hallo, ihr Lieben. Ich habe mich von Jennifer McGuire inspirieren lassen und ein paar schnelle und leichte Karten mit dem "It's All About You" Stempelset von My Favorite Things gebastelt. Dazu habe ich alle kleinen Sentiments aus dem Set verwendet und über einen gesamtes Kartenpanel angeordnet. Mit Hilfe eines Stamping Tools konnte ich diese dann immer wieder stempeln.


Ich habe verschiedene Sachen ausprobiert: Stempeln mit verschiedenen Farben und mit Farbverlauf auf weißem Papier und Stempeln mit VersaMark auf farbiges Papier. Die Abdrücke der letzteren Technik habe ich anschließend mit durchsichtigem Embossingpulver embosst. Beide Varianten finde ich sehr schön und können mit unterschiedlich farbigem Papier kombiniert werden. Anschließend habe ich das größe Rechteck der Kreuzstich-Stanzen von My Favorite Things verwendet, um das Kartenpanel "zuzuschneiden". Um die Karte noch etwas interessanter zu gestalten, habe ich noch einen Embossing Folder mit schräg verlaufenden Linien verwendet und habe direkt das frontale Panel der Karte embosst.


Es gibt eine wunderschöne und passende Stanze zu dem großen "YOU" im Set. Allerdings hatte ich sie leider nicht, aber hätte sie gern verwendet. Aus diesem Grund habe ich das "YOU" aus dem Set in Schwarz gestempelt und habe die einzelnen Buchstaben ausgeschnitten und mit 3D Pads auf der Karte aufgebracht.
Vielen Dank für's Vorbeischauen und habt ein wunderbares Wochenende!
Verwendete Produkte aus dem Cards Und More Shop


Sep 15, 2017
Du schaffst das [Cards und More Shop]
Hallo, ihr Lieben! Ich bin zurück mit einer Schüttelkarte. Denn eigentlich liebe ich Schüttelkarten und mir ist letztens aufgefallen, dass ich schon ewig keine mehr gemacht habe.
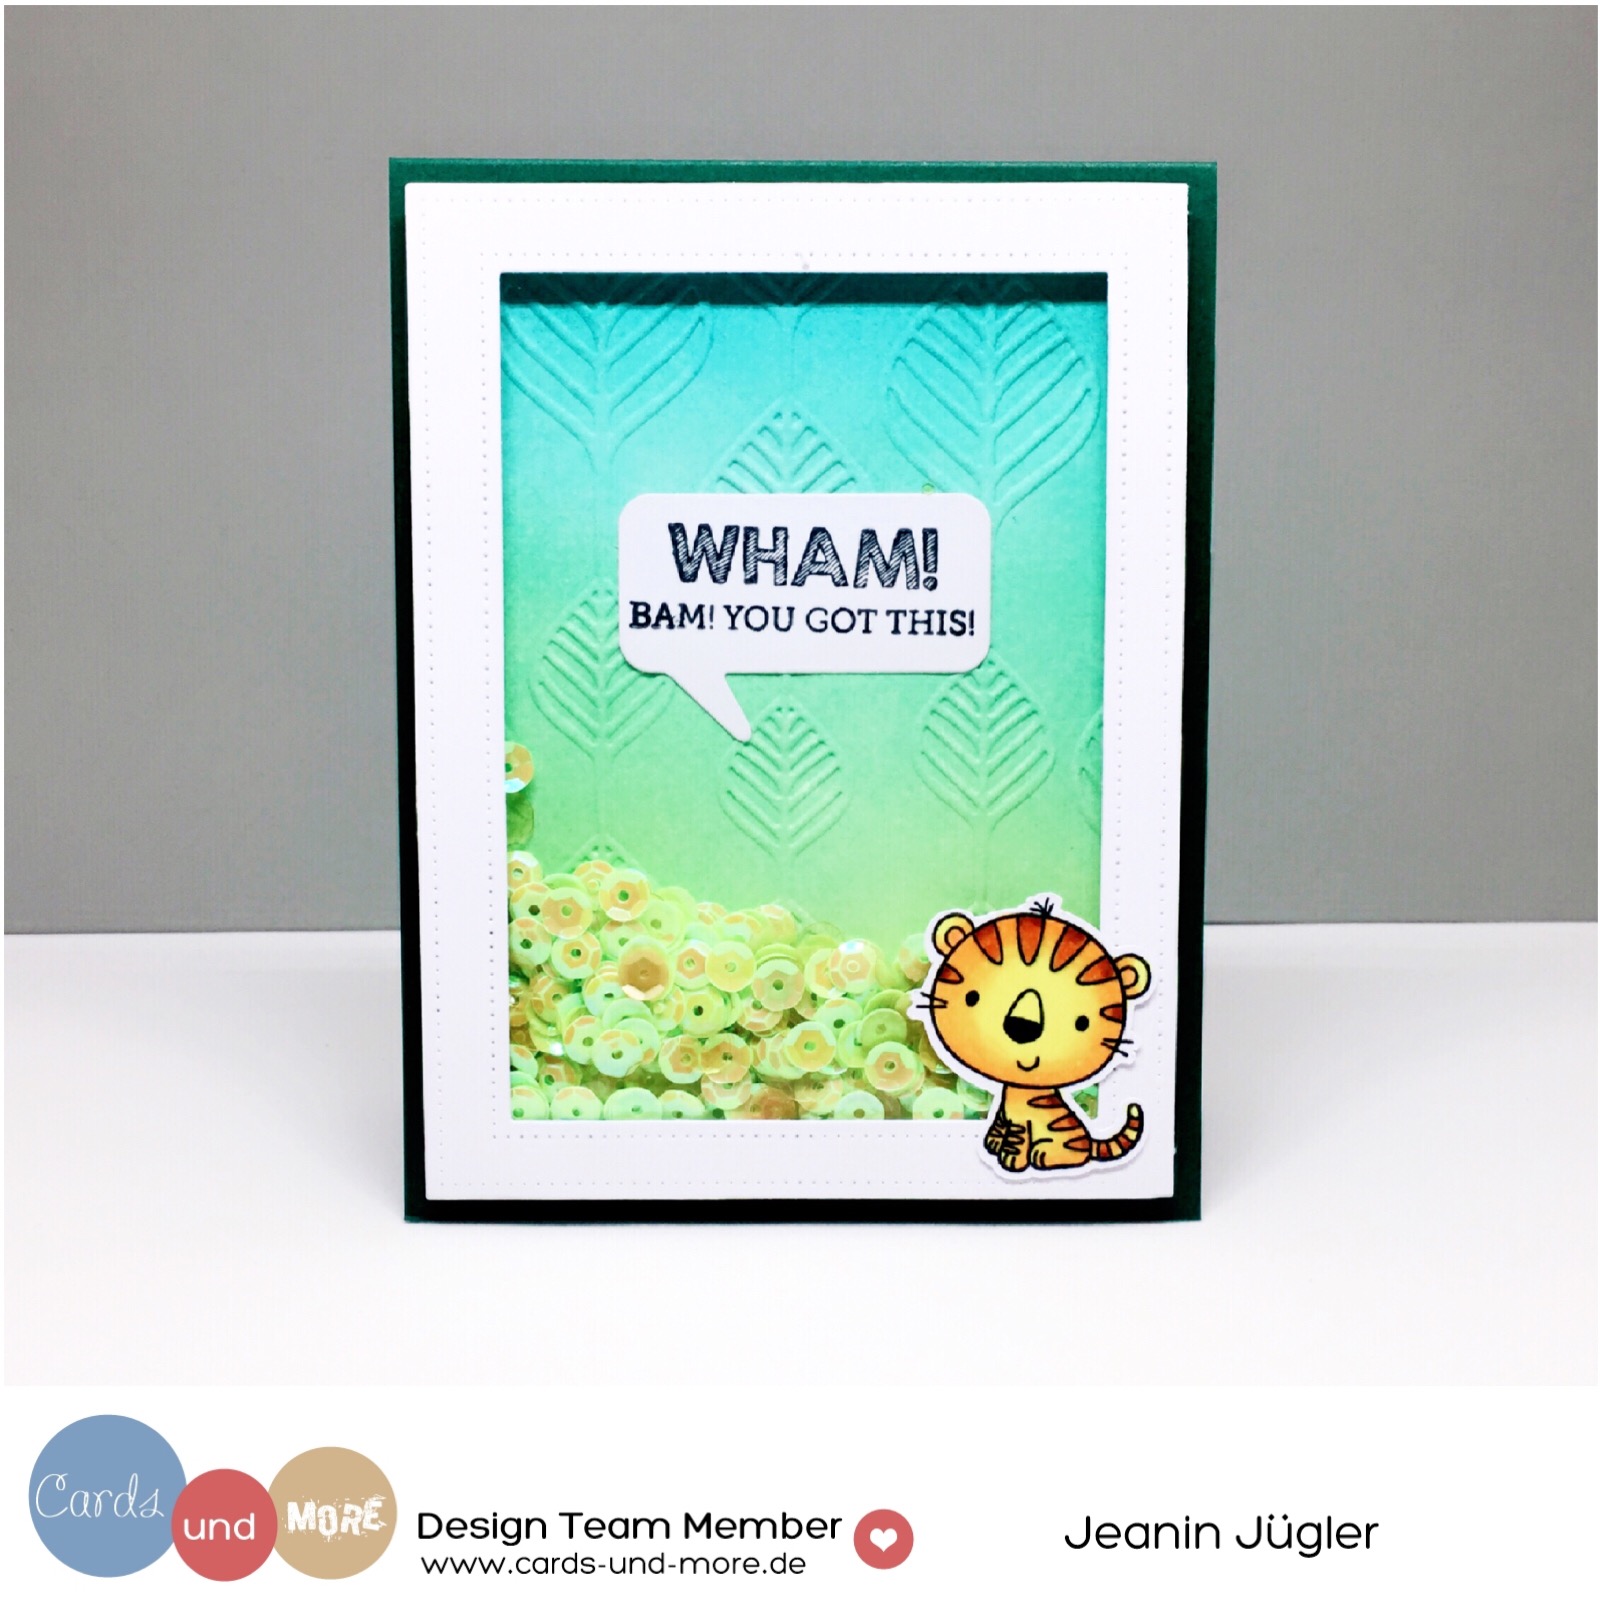
Ich habe zunächst das Fenster vorbereitet. Dafür habe ich zwei unterschiedlich große rechteckige Stanzen verwendet und diese in einem Durchgang verwendet, um einen Rahmen aus weißem Karton auszustanzen. Danach habe ich sofort ein passendes Stück durchsichtige Folie auf die Rückseite geklebt. Und ich betone hier sofort, da ich in 9 von 10 Karten vergesse, die Folie aufzukleben. Und dann bereits dabei bin das Foamtape zu positionieren, das ich dann so gut wie möglich wieder herunter kratzen kann ;)

Ich wollte unbedingt einen der Tiger aus einem neueren My Favorite Things Set verwenden, den ich mit Alkoholmarkern koloriert habe. Daher wollte ich den Hintergrund für die Schüttelkarte in Grün- oder Dschungeltönen halten. Dafür habe ich Distress Inks (Twisted Citron, Cracked Pistachio, Peacock Feathers) verwendet sowie ein Stück Mix Media Karton, auf dem sich die Distress Inks schön verblenden lassen, da die Farbe nicht so schnell einzieht. Abschließend habe ich noch einen passenden Embossing Folder mit Blattmuster verwendet, um das Dschungelthema aufzugreifen.

Da ich die Karte einer Freundin geben wollte, die diese Woche ihr Examen schreibt, fand ich den Spruch "Wham! Bam! You got this!" einfach super passend. Eigentlich wollte ich das Sentiment direkt auf den embossten Hintergrund stempeln, was auch super ausgesehen hat. Leider habe ich jedoch den falschen Spruch gestempelt und ich wollte ungern das Hintergrundpanel noch einmal machen... Daher habe ich in meiner Stanzsammlung nach einem passenden Motiv gesucht und bin dann auf eine Sprechblase gestoßen. In der perfekten Größe!
Nun musste ich nur noch alle Einzelteile zusammensetzen und die Karte
mit Sequins füllen (natürlich auch in Gelb- und Grüntönen).

Ich hoffe, euch gefällt diese Karte und ich konnte euch ein wenig inspirieren. Habt ein schönes Wochenende!

Verwendete Produkte aus dem Cards und More Shop


Jan 3, 2017
Sending Hugs
Hello everyone and happy New Year! I have a quick and easy card for you today. Since it is still cold outside and at least here it's supposed to get really cold in the next couple of days, I created this snowy card scene using the cute lemur from the "Snow Day" stamp set.

I started off stamping the image on mixed media card stock and coloring him in with Zig Clean Color Real Brush pens. For my background I used an embossing powder that created tiny dots that look like snow. I simply embossed the front part of my card base.
I also wanted to create a bold sentiment with a high contrast so I die cut a flag banner from black card stock using one of the bigger flag banner dies and white embossed the sentiment "Sending hugs" using stamps from the "Wishful Thoughts" stamp set. I adhered the flag banner with foam tape to the card base and mounted the lemur to the upper right corner of the flag banner.

I hope you enjoyed this quick card as much as I did. Have a great day!
CDD products used


Jun 6, 2016
Congrats! (Craftin Desert Divas Linky Party)


Hello friends! The theme for this Linky Party at Craftin Desert Divas is "Masculine"! We would love to see all of your projects that fit this theme! So go ahead and craft it and link it up on the Craftin Desert Diva's Blog.
Every other Monday will mark the beginning of a new semi-weekly Linky Party over
at the CDD blog. We hope you will share your projects with us! And don't forget
about the prizes! Every Linky Party will have a winner and a Top 3!
The more times you link up...the more chances you have to win!!
Our Sponsors for this Linky Party are:


Hi everyone, I am back with a new card for the start of a new linky party. I do have a brick wall embossing folder and wanted to stamp a sentiment on embossed card stock so it would look like graffiti. And I thought it would be a great opportunity to combine it with this linky party.

I started off stamping the cute little skunk using Archival Jet Black ink on mix media paper and colored him with Zig Clean Color Real Brush markers. I also stamped the little bee with Memento and colored it with Spectrum Noir markers.

For the background I used a white top-folded notecard and a self-made cloud stencil and applied Tumbled Glass Distress Ink over it and made sure to change the angle of the stencil throughout the whole process. Using brown card stock I created the brick for my card using a stencil by Taylored Expressions. To create the grass, I die cut a piece for the grass using the rectangle die from the Fancy Frame die set and cut the grass.

To assemble my card, I cut down the embossed brick panel and adhered it to the right side of my top-folded notecard as well as the grass panel. Using white pigment ink, I stamped the "congrats!" sentiment on top of the brick. Using 3D foam squares, I also adhered the skunk and the bee to the card.
I hope you enjoyed my card and I am looking forward to seeing your creations!!
Here are all the CDD products I used:
(click on the picture to get redirected to the product)


Apr 25, 2016
In The Garden (Craftin Desert Divas Linky Party)

Hello friends! The theme for this Linky Party at Craftin Desert Divas is
"In The Garden"! We would love to see all of your projects that fit this
theme! So go ahead and craft it and link it up on the Craftin Desert Diva's Blog.
Every other Monday will mark the beginning of a new semi-weekly Linky Party over
at the CDD blog. We hope you will share your projects with us! And don't forget
about the prizes! Every Linky Party will have a winner and a Top 3!
The more times you link up...the more chances you have to win!!
Our Sponsors for this Linky Party are:
Welcome back to another Linky Party at the Craftin Desert Divas Blog. This time it's all about <Garden>. I created this card using lots of Craftin Desert Divas products. I started off stamping the little bee from Just Bugcause and the flowers from Home Sweet Home and Just Bugcause on white cardstock and coloring them with Spectrum Noir markers.

I also die cut a white banner using the Banner Dies as well as die word "Many" from the Wishful Thought Word Dies out of gold mirror cardstock. I adhered the word die to the banner and stamped the word "thanks" in black ink to create the sentiment "many thanks". Using glue dots, I also adhered the flowers and bee to the banner.

I wanted to have a background panel that would create a bit of contrast but would not be overwhelming. So I decided to use Kraft cardstock which I think goes wonderfully with the theme. Using an embossing folder, I created a dotted background panel. To assemble the card I adhered the kraft panel to a white notecard and also adhered the banner to the background piece.
I really hope you liked my card and I am looking forward to seeing your creations on the blog!
Here are all the CDD products I used:


Subscribe to:
Posts (Atom)