
Showing posts with label Shaker Card. Show all posts
Showing posts with label Shaker Card. Show all posts
Feb 8, 2018
Happy Birthday
Hallo, ihr Lieben, ich bin zurück mit einer neuen Schüttelkarte im Geburtstsagsdesign und habe eine tolle Stanze von My Favorite Things verwendet. Das schöne an dieser Stanze ist, dass man im Prinzip zwei Karten zum Preis von einer bekommt.

Für die erste Karte wollte ich eineb sehr farbenfrohbe und knalligeb Hintergrund, den habe ich mit Salt Ocean und Blueprint Sketch Distress Inks kreiert habe. Zurecht gestanzt habe ich den Hintergrund dann zunächst mit der Rechteckstanze von MFT. Um die Verblendung der Farben etwas aufzuwerten, habe ich anschließend noch Wassertropfen darauf gespritzt und mit einem Tuch trocken getupft. Nun konnte ich den Happy-Birthday-kreis ausstanzen.

Um etwas mehr Kontrast zu erhalten, habe ich das Design auch noch einmal aus weißem Karton ausgestanzt und habe den Schriftzug auf der ersten Karte verwendet. Um eine Schüttelkarte zu kreieren, habe ich zunächst durchsichtige Folie hinter die Öffnung des Hintergrundpanels geklebt und dann das weiße Happy Birtday-Stanzteil außen aufgebracht. Mit Hilfe von Foam Tape habe ich die Rückseite des Panels genügend Raum für die Pailletten geschaffen.

Das Happy Birthday-Stanzteil der ersten Karte konnte ich nun auf eine zweite Karte aufbringen. Diese wollte ich relativ simpel halten und habe mich dafür entschieden, nur einen Embossing Folder für den Hintergrund zuverwenden und zusätzlich durchsichtige Embellishments aufzukleben.
Ich hoffe, euch haben diese Karten gefallen! Habt eine schöne restliche Woche!
Verwendete Produkte aus dem Cards und More Shop


Jan 27, 2018
Schüttelkarte Schmetterling | Crafter's Companion
Hallo, ihr Lieben! Heute habe ich für euch ein weiteres Inspirationsprojekt mit Produkten von Crafter's Companion für euch! Es sieht vielleicht auf den ersten Blick sehr aufwendig aus, ist aber sehr schnell umzusetzen und ein echter Hingucker!

Zunächst habe ich den Hintergrund vorbereitet, den ich mit drei verschiedenen Distress Inks hergestellt habe: Abandoned Coral, Spiced Marmalade und Squeezed Lemon. Diese habe ich auf ein Stück weißen Karton aufgetragen und miteinander verblendet.
Der nächste Schritt für den Hintergrund ist das ausgestanzte Panel. Dafür habe ich die Circle Trellies-Stanze verwendet und aus silbernd-schimmerndem Karton ausgestanzt und anschließend zurecht geschnitten.
Um die Schüttelkarte zusammenzusetzen, habe ich einen stärkeren Druckverschlussbeutel in der Größe 120mmx170mm verwendet, in den ich sowohl den Distresshintergrund als auch das gestanzte Panel geschoben habe. Nun musste ich nur noch Pailletten hinzugeben und den Rest des Beutel umklappen und festkleben. Schon ist das Schüttelelement fertig und muss nur noch auf eine Kartenbasis geklebt werden.
Zur Verzierung habe ich abschließend noch zwei Schmetterlinge mit den
Flutterbystanzen aus weißem Papier ausgestanzt und auf das
Schüttelelement geklebt.

Ich hoffe, euch hat diese Karte gefallen und ihr probiert demnächst ebenfalls aus einen einfache Schüttelkarte mit Hilfe eines Druckverschlussbeutels herzustellen. Habt ein schönes Wochenende!
Verwendete Crafter's Companion Produkte
Nov 25, 2017
You Are Fantastic! | herbstliche Schüttelkarte
Hallo, ihr Lieben. Erinnert ihr euch, dass ich euch vor einiger Zeit den Inhalt eines Überraschungspakets gezeigt habe und alles, was daraus entstanden ist? Hier kommt die versprochene dritte Karte, die ich gebastelt habe!

Mit Hilfe des Shakersets von Tonic habe ich dann diese Shakerkarte erstellt. Da ich noch etwas Karton übrig hatte, auf den ich die Color Bursts verwendet habe, habe ich diesen wiederum zu einem Hintergrund umfunktioniert. Mit Hilfe der beigefügten Kreisstanze konnte ich den Hintergrund in der perfekten Größe austanzen. Das gleiche habe ich noch einmal mit dem Kartenpanel getan, nachdem ich den Pinienzapfenhintergrund mit dem mitgeschickten Stencil und braunem und schwarzem Distress Ink gemacht habe.

Die 3D-Shakerpanels aus dem Tonicset sind wirklich klasse. Ich habe so etwas vorher noch nie ausprobiert. Einfach den Plastikstreifen vom 3D-Panel abziehen und man konnte es von hinten gegen die Rückseite des Hintergrundpanels kleben. Und es passt perfekt. Ein bisschen knifflig wurde es dann, die winzig kleinen Perlen dort hineinzubekommen und den rötlichen Hintergrund, den ich ja als Kreis ausgestanzt habe, genau zu treffen. Beim nächsten Mal würde ich den Hintergrund einfach etwas großzügiger ausschneiden und von hinten ankleben.
Vielen Dank für's Vorbeischauen! Habt einen tollen Tag!

Produkte aus dem Cards und More Shop:


 |


Oct 22, 2017
Happy Birthday Shaker Card
Hallo, ihr Lieben. Ich bin zurück mit einer neuen Shakerkarte, dieses Mal als Geburtstagskarte. Und ich wollte sie in richtig schönen knalligen Farben, damit sie auch ja gute Laune verbreitet. Daher habe ich eine meiner Lieblings-Distress-Ink-Kombo benutzt: Abandoned Coral und Spiced Marmalade.
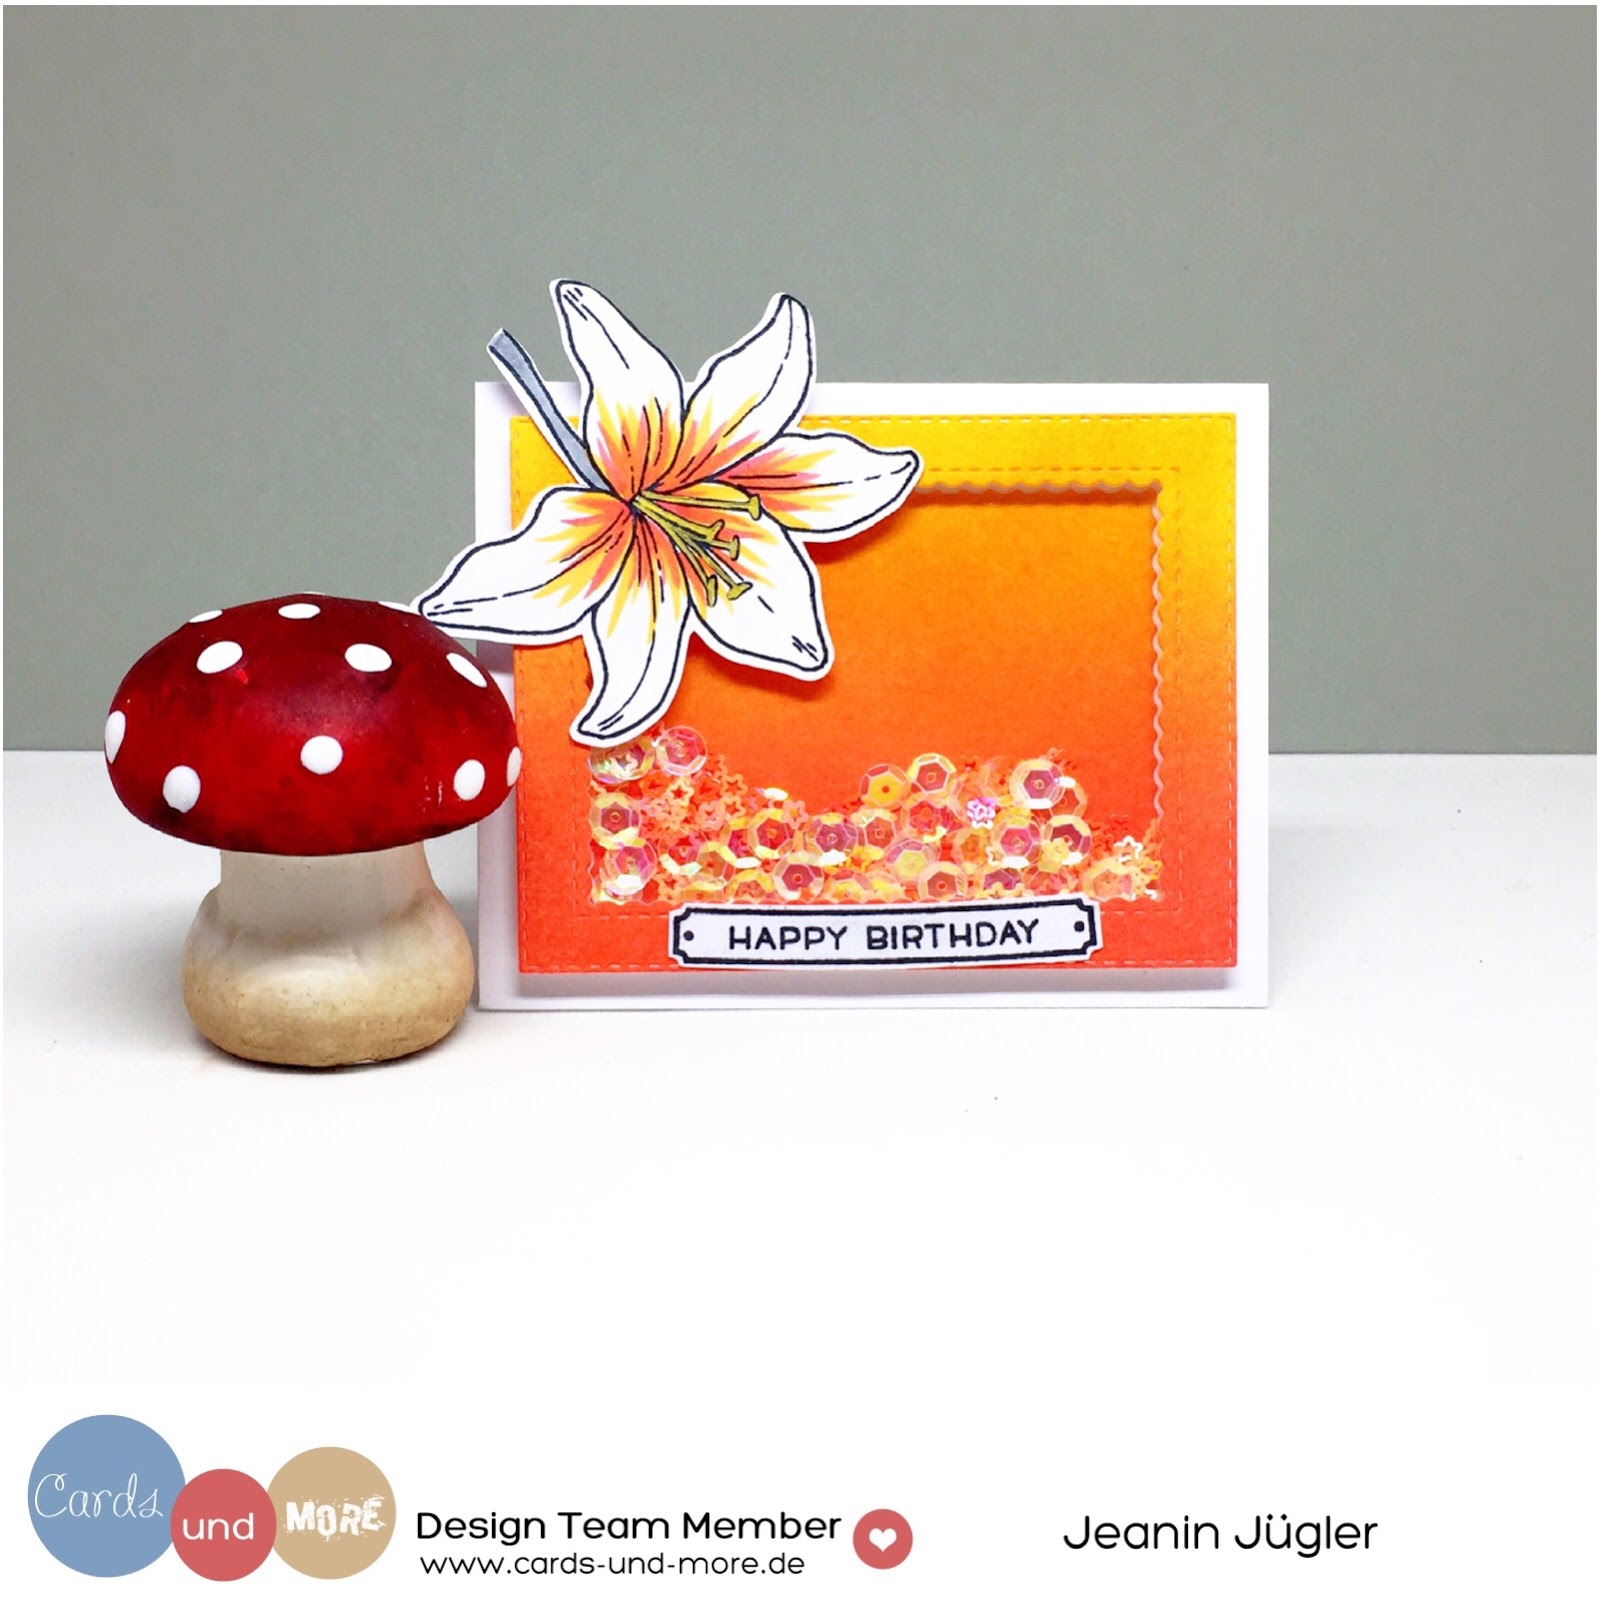
Das distresste Panel habe ich dann mit einer Rahmenstanze zugeschnitten und habe auf dem Rahmen sowohl ein Stück Acetate angebracht, als auch Foam Tape auf der Rückseite befestigt, um den Sequins genug raum zu geben. Das ausgestanzte Innenteil habe ich dann gleich für den Hintergrund der Karte verwendet.

Um die Karte zu verzieren habe ich die wunderschöne Blüte von Jane's Doodles verwendet. Da der Hintergrund schon sehr farbenfroh ist, wollte ich die Blüte relativ schlicht halten, weshalb ich nur die inneren Teile der Blüte mit ähnlichen Farben koloriert habe.

Zum Abschluss habe ich noch ein Sentiment von Lawn Fawn benutzt. Das "Happy Birthday" kam bereits in Rahmen bzw. der Plakette und ich fand, dass es sehr gut passte. Ich habe es noch hellgrau koloriert und mit Wink of Stella verziert.

Ich hoffe, euch hat die Karte gefallen! Habt einen wunderschönen Freitag!

Produkte aus dem Shop


Apr 29, 2017
Shake It Up!
Hello everyone, I am back with a special shaker card for you. I love these see-through shaker card and can't get enough of them.
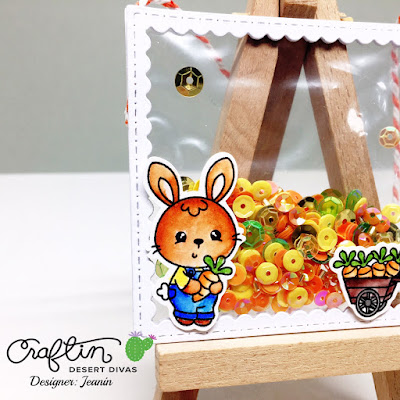
To start off, I die cut two of the medium size inside scalloped squares from Craftin Desert Divas from white card stock and also stamped the cute little bunny holding a carrot and the carrot wagon from the "Somebunny" stamp set on mix media card stock and colored in the images with my Zig markers.

I really hope you enjoyed this shaker card/ornament. Have a lovely day!


Read more
To start off, I die cut two of the medium size inside scalloped squares from Craftin Desert Divas from white card stock and also stamped the cute little bunny holding a carrot and the carrot wagon from the "Somebunny" stamp set on mix media card stock and colored in the images with my Zig markers.

To create the shaker pocket, I used one of my ziplog bags as and my Fuse tool to create a square shaped pocket that was slightly smaller than the die cut pieces. I filled my shaker pocket with Melon Drop sequins and closed it up.
I then used really strong adhesive to nest the shaker pocket in between the square die cuts. I also included a piece of white and orange baker's twine so the card could also used as a tag or ornament. To finish off the project, I adhered the bunny and the wagon to the front of the shaker card.

I really hope you enjoyed this shaker card/ornament. Have a lovely day!
CDD products used
Mar 9, 2017
See-Trough Shaker Card
Hi everyone, I am back with this fun shaker card. I started off printing the racoons on some mixed media card stock with a laser printer and colored them in with Zig Clean Color Real Brush markers.

Then I made the shaker pocket using some thin plastic sheets and the fuse tool. Before sealing all four sides, I filled the pocket with the Sweet Sixteen sequins and the cute racoons.
Using the largest Fancy Frame die, I die cut the front of a card base so I'd get two nice sides with a scalloped edge. Using strong adhesive, I simply adhered the shaker pocket to the back side of the top and bottom card base piece.

I hope you enjoyed this shaker card and that I could inspire you to make your own.
CDD products used


Jan 25, 2017
Warmest Wishes
Hi everyone, today I wanted to show you this shaker card that I made with images from the "Winter Cheer" stamp set by Craftin Desert Divas. I went a little overboard with the sequins but this way the recipient has to work the shaker card to reveal the complete image ;)

I started off die cutting the shaker card panel from white card stock using the largest scalloped die from the "Francy Frame" die set. I then cut the largest "Scribbled Circle" die from the panel and again from red card stock. Using red ink, I stamped the sentiment "Warmest Wishes" directly under the window. I also cut a piece of white card stock and that was a bit larger than the shaker pocket and die cut a snowy hill with a piece from the "Shake It Up" die set. Unfortunately, you can't really see it on the pictures.

Then I cut a large enough piece of acetate and adhered it behind the window which also gave me the possibility to adhere the red scribbled circle to the outside of the window. Using foam tape I created the actual window that can hold the sequins and adhered the snowy hill into place on a silver card base.
I stamped the image on mix media card stock and colored it in with Zig Clean Color Real Brush markers and also adhered it to the inside of the shaker card. All that was left to do was to fill it up with Fairy Dust sequins (please be careful and don't overfill like I did). For a finishing touch, I adhered the little star from the set to the left of the sentiment.
I hope you liked this shaker card. Have an amazing day and see you next time!
Aug 1, 2016
Photo Inspiration (Back to School - Linky Party Craftin Desert Divas)


Hello friends! The theme for this Linky Party at Craftin Desert Divas is
"Photo Inspiration"! We would love to see all of your projects that fit this
theme! So go ahead and craft it and link it up on the Craftin Desert Diva's Blog.
Every other Monday will mark the beginning of a new semi-weekly Linky Party over
at the CDD blog. We hope you will share your projects with us! And don't forget
about the prizes! Every Linky Party will have a winner and a Top 3!
The more times you link up...the more chances you have to win!!
Our Sponsors for this Linky Party are:


Hi everyone and welcome back to a new Linky Party. This time we have a picture for you that will hopefully help and inspire you to create amazing projects. I wanted to create a cute little shaker card and used a build-in cutting design of an apple of my Brother Scan'N'Cut. In addition to the apple itself, I also created a little frame in the shape of an apple to create the shaker. I placed a piece of acetate behind the frame and used foam tape to create enough space for the little beads that I wanted to include.

To embellish the card, I used the panda holding a pice of paper from the Panda Pals stamp set. I colored him with Zig Clean Color Real Brush markers and added a simple addition problem to it. I then adhered the panda to the shaker pocket.


Subscribe to:
Posts (Atom)